A pre-drywall inspection is a critical step before installing drywall‚ ensuring all systems are properly installed. It identifies issues early‚ preventing costly repairs later. This inspection covers structural‚ electrical‚ plumbing‚ HVAC‚ and insulation systems‚ using a checklist to ensure thoroughness and compliance with construction standards.
1.1 Importance of Pre Drywall Inspection
A pre-drywall inspection is essential for identifying potential issues before they become costly or difficult to repair. It ensures that structural elements‚ electrical systems‚ plumbing‚ HVAC components‚ and insulation are correctly installed and meet building standards. This step is crucial for maintaining safety‚ efficiency‚ and longevity in a home. By addressing problems early‚ homeowners can avoid future headaches and financial losses. The inspection also verifies that all systems are properly connected and functioning as intended. It provides a clear understanding of the home’s condition‚ giving peace of mind and ensuring compliance with construction codes. Regular pre-drywall inspections are a proactive approach to construction quality and safety.
1.2 Brief Overview of the Checklist
A pre-drywall inspection checklist is a comprehensive guide detailing key areas to evaluate before drywall installation. It covers structural integrity‚ electrical systems‚ plumbing‚ HVAC‚ and insulation. The checklist ensures all components are installed correctly and meet safety standards. It includes specific items like verifying outlet locations‚ checking wiring connections‚ and inspecting ductwork. By following the checklist‚ inspectors can systematically identify issues early‚ preventing costly repairs later. The checklist also serves as a documentation tool‚ providing a record of the inspection process. It is an essential resource for ensuring quality and compliance in construction projects‚ helping to streamline the inspection process and maintain accountability. The checklist is a must-have for both professionals and homeowners to ensure a thorough and effective pre-drywall evaluation.

Structural Integrity Check
This section ensures the framing and foundation are secure‚ properly aligned‚ and capable of supporting the structure’s weight‚ identifying any defects before drywall installation begins.
2.1 Framing Inspection
A thorough framing inspection involves checking for proper sizing‚ spacing‚ and alignment of beams and studs. Ensure all connections are secure and meet local building codes. Look for any signs of damage‚ warping‚ or improper installation that could compromise structural integrity. Verify that load-bearing walls are correctly positioned and that all windows and doors are framed accurately. Check for any gaps or misalignments in the framing that might affect drywall installation. Additionally‚ ensure that all necessary hardware‚ such as hurricane ties or brackets‚ is properly installed to enhance stability. Addressing these issues early prevents future structural problems and ensures a safe‚ durable building framework.
2.2 Foundation Verification
Foundation verification is essential to ensure the base of the structure is stable and secure. Check for cracks‚ unevenness‚ or signs of shifting in the foundation walls and footings. Ensure the foundation is level and properly aligned with the framing. Look for any damage or deterioration in the foundation materials. Verify that all anchor bolts are correctly installed and tightened. Inspect for any water damage or erosion around the foundation. Ensure proper drainage systems are in place to prevent water accumulation. Check that the foundation complies with local building codes and specifications. Addressing foundational issues early prevents costly repairs and ensures long-term structural stability. A secure foundation is critical for the safety and durability of the entire building.

Electrical Systems Review
An electrical systems review ensures outlets‚ switches‚ and wiring are correctly installed and functioning safely. Verify proper connections‚ circuit labeling‚ and electrical panel configuration before drywall installation.
3.1 Outlet and Switch Placement
Outlet and switch placement is crucial for functionality and safety. Ensure outlets are installed every 12 feet along walls and near water sources. Switches should be placed near doorways. Verify proper spacing and alignment to avoid future issues. Check for GFCI protection in wet areas like kitchens and bathrooms. Ensure all outlets are grounded and switches operate correctly. Review local electrical codes for compliance. Proper placement prevents overcrowding and enhances usability. Use a checklist to document findings and address any defects before drywall installation. This step ensures electrical systems meet safety standards and user needs. Addressing issues early avoids costly fixes later.
3.2 Wiring Inspection
A thorough wiring inspection ensures electrical systems are safe and functional. Verify all wires are properly connected‚ spliced‚ and secured. Check for correct wire sizing and insulation. Ensure grounding systems are installed and functioning. Look for any signs of damage‚ such as frayed wires or exposed conductors. Confirm that cables are neatly routed and securely fastened to studs. Test for proper voltage and circuit continuity where possible. Inspect electrical panels for correct breaker placement and labeling. Use a checklist to document findings and address any defects before drywall installation. This step ensures electrical safety and prevents potential fire hazards. Early detection of wiring issues saves time and money in the long run.
3.3 Electrical Panel Check
An electrical panel check is essential to ensure the system is safe and functional. Verify the main electrical panel is properly installed and securely mounted. Check that all circuit breakers are correctly labeled and correspond to their respective areas. Ensure the panel is appropriately sized for the home’s electrical needs. Look for any signs of damage‚ such as rust‚ wear‚ or overheating. Confirm that all wires are securely connected and that there are no loose or exposed connections. Test the functionality of each breaker to ensure they trip when overloaded. Use a checklist to document findings and address any issues before drywall installation. This step ensures electrical safety and prevents potential hazards. Proper panel installation is critical for reliable power distribution throughout the home.
Plumbing System Evaluation
Plumbing system evaluation ensures pipes‚ fixtures‚ and appliances are correctly installed. Check pipe routing‚ connections‚ water heater installation‚ and proper drainage systems before drywall installation begins.
4.1 Pipe Installation and Routing
During pre-drywall inspection‚ pipe installation and routing are critical. Ensure pipes are correctly sized‚ securely fastened‚ and properly insulated. Check for leaks‚ correct connections‚ and compliance with local plumbing codes. Verify that pipes are routed away from electrical components to prevent interference. Inspect for any signs of damage or improper fitting‚ which could lead to future issues. Proper routing also ensures efficient water flow and reduces the risk of contamination. Use a checklist to document findings and address any defects before drywall installation begins. This step is essential for maintaining the integrity and functionality of the plumbing system.
4.2 Fixture and Fitting Inspection
Inspect all plumbing fixtures and fittings to ensure they are correctly installed and positioned. Verify that fixtures are securely fastened and properly aligned. Check connections for leaks and ensure all fittings are tightened adequately. Confirm that fixtures are appropriate for their intended use and meet local plumbing codes. Test water flow and drainage to ensure functionality. Inspect for any visible damage or defects in fixtures and fittings. Ensure shut-off valves are installed and functioning correctly. Document any issues or defects for correction before proceeding; This step ensures the plumbing system is safe‚ efficient‚ and ready for drywall installation. Proper inspection prevents future leaks and maintenance issues.
4.3 Water Heater and Appliances
Inspect the water heater for proper installation‚ ensuring it is securely fastened and connected to gas‚ water‚ and electrical systems. Verify venting is correctly installed and meets safety standards. Check for any leaks or damage to the unit. For appliances‚ ensure they are properly installed‚ connected‚ and positioned. Verify that all necessary plumbing and electrical connections are secure and functional. Inspect dishwashers‚ washing machines‚ and other fixtures for proper alignment and installation. Test appliances to ensure they operate correctly. Check for drain pans under appliances to prevent water damage. Ensure all safety features‚ such as temperature and pressure relief valves‚ are installed and functioning. Document any issues or defects for correction before drywall installation. This ensures all systems are safe and ready for final construction phases.
HVAC System Inspection
Inspect HVAC components‚ ensuring proper installation of ductwork‚ vents‚ and units. Verify connections‚ airflow‚ and thermostat functionality. Check for leaks‚ damage‚ or improper sizing. Ensure systems meet safety and efficiency standards‚ and all components are securely fastened. Proper ventilation and insulation around HVAC systems are crucial for optimal performance and energy efficiency. Any issues found must be documented and addressed before drywall installation to avoid future complications.
5.1 Ductwork and Ventilation
Inspect ductwork for leaks‚ proper sizing‚ and alignment with vents. Ensure all connections are secure and vents are correctly placed. Check insulation around ducts for adequate coverage and verify that vents are unobstructed. Look for any damage or sagging in ducts. Ensure proper sealing of joints and connections. Verify that ductwork is correctly routed through walls and ceilings. Check for proper installation of dampers and registers. Ensure compliance with local building codes and safety standards. Proper ventilation ensures efficient airflow and prevents moisture buildup. Any issues with ductwork can lead to poor HVAC performance and increased energy costs. Addressing these during pre-drywall inspection prevents costly repairs later.
5.2 HVAC Unit Installation
Ensure the HVAC unit is properly installed‚ level‚ and securely fastened. Verify that all electrical connections are safe and meet local codes. Check for any blockages near the unit that could obstruct airflow. Inspect the condensate drain line for proper installation and ensure it is not clogged. Confirm that the unit is appropriately sized for the space and that all necessary permits are in place. Look for any visible damage or dents on the unit. Ensure proper insulation around the unit to prevent energy loss. Verify that the thermostat is correctly wired and functioning. Check for any leaks in refrigerant lines. Ensure the unit is properly vented to the outside. Addressing these issues during pre-drywall inspection ensures efficient and safe HVAC operation.
5.3 Thermostat and Control Systems
Inspect the thermostat and control systems to ensure proper functionality. Verify that the thermostat is correctly wired and programmed according to the HVAC system’s specifications. Check for compatibility between the thermostat and the HVAC unit. Ensure all sensors‚ such as temperature and humidity sensors‚ are installed and functioning accurately. Test the system’s operation by running a full cycle to confirm heating‚ cooling‚ and ventilation modes work seamlessly. Check for any loose connections or damaged wires in the control panel. Ensure the system is accessible and user-friendly. Review the manufacturer’s instructions to confirm proper setup. Document any issues or malfunctions for immediate correction. Properly functioning controls are essential for energy efficiency and comfort.
Insulation and Firestopping
Ensure insulation is correctly installed‚ covering all necessary areas. Verify firestopping materials are applied where needed. Check for proper seals around penetrations. Confirm compliance with fire safety standards.
6.1 Insulation Types and Installation
Inspect insulation types‚ such as fiberglass‚ cellulose‚ or spray foam‚ ensuring they are correctly installed in walls‚ ceilings‚ and floors. Verify thickness and coverage meet specifications. Check for gaps or compressions that reduce efficiency. Ensure insulation is properly fitted around electrical outlets‚ plumbing‚ and HVAC components. Confirm materials are fire-resistant and meet local building codes. Document any deficiencies or areas needing adjustment. Proper installation is crucial for energy efficiency‚ noise reduction‚ and moisture control. Use the checklist to systematically evaluate each area‚ ensuring no sections are overlooked. Addressing insulation issues early prevents future comfort and structural problems.
6.2 Firestopping Materials and Application
Firestopping materials‚ such as sealants‚ sprays‚ or boards‚ must be inspected for proper installation in penetrations and joints. Verify that materials are applied correctly to prevent fire spread between rooms and floors. Check for gaps or improper sealing around pipes‚ ducts‚ and electrical cables. Ensure firestopping meets local building codes and manufacturer specifications. Look for certification labels on materials to confirm compliance. Document any areas where firestopping is missing or improperly applied. Addressing these issues early is critical for fire safety and structural integrity. Use the checklist to systematically evaluate firestopping in all critical areas‚ ensuring no potential fire hazards are overlooked during pre-drywall inspection.
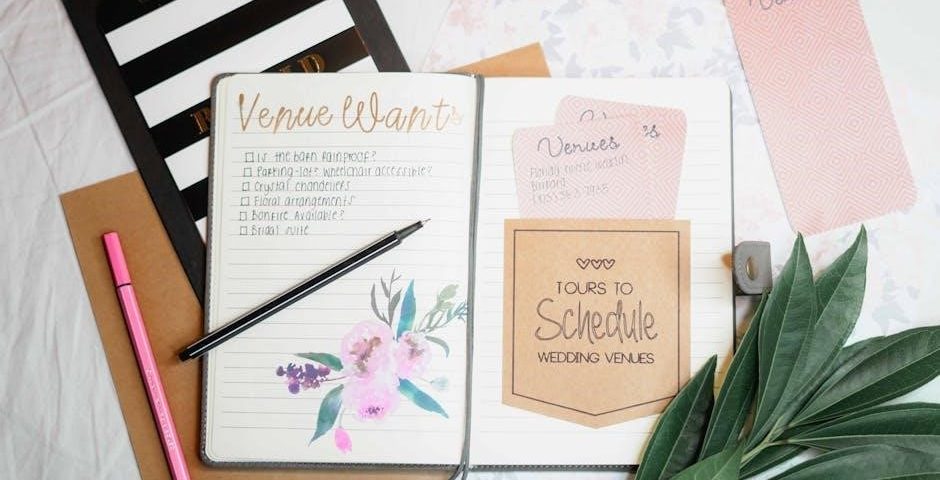
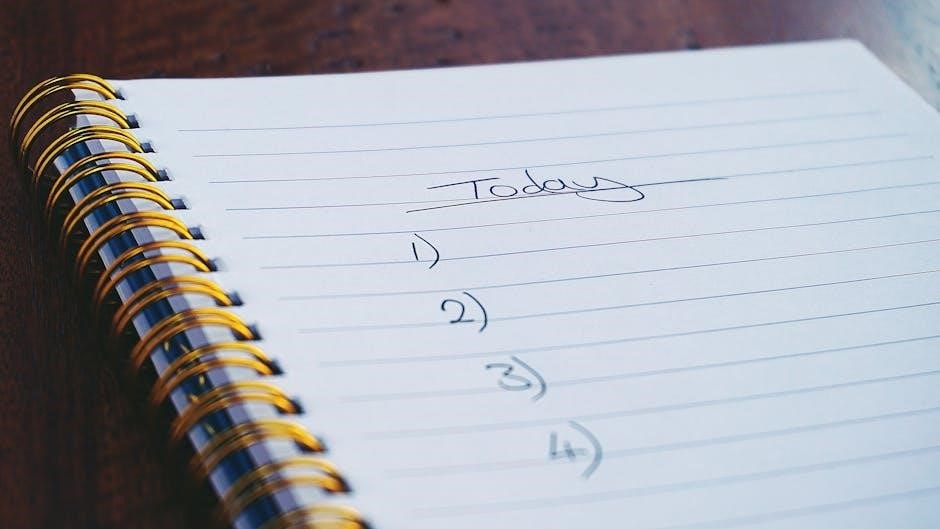
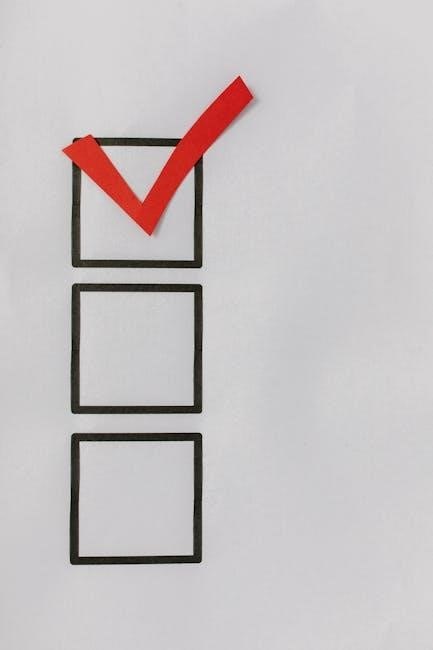
Checklist Creation and Usage
A pre-drywall inspection checklist is essential for ensuring all critical areas are evaluated. It streamlines the inspection process‚ ensuring thoroughness and consistency in every assessment.
7.1 Essential Items to Include
A comprehensive pre-drywall inspection checklist should include structural integrity checks‚ electrical system verification‚ plumbing inspections‚ HVAC evaluations‚ and firestopping reviews. Ensure all components are listed clearly‚ such as outlet placements‚ wiring integrity‚ pipe installations‚ ductwork‚ and insulation quality. Photographing defects and noting their locations is crucial for documentation. The checklist should also cover foundation verification‚ framing alignment‚ and proper installation of fixtures and appliances. Including sections for safety checks‚ like firestopping materials‚ ensures compliance with building codes. Organize the checklist logically‚ allowing inspectors to methodically assess each area. Customizable sections can accommodate project-specific requirements‚ ensuring no critical details are overlooked during the inspection process.
7.2 How to Conduct a Thorough Inspection
Conducting a thorough pre-drywall inspection involves a systematic approach to ensure all areas are evaluated. Begin by reviewing the checklist to understand key areas of focus‚ such as structural integrity‚ electrical wiring‚ and plumbing. Use a flashlight and measuring tools to inspect hard-to-reach spaces. Photograph defects and note their locations for documentation. Verify that all systems‚ including HVAC and insulation‚ are properly installed. Check for compliance with local building codes and ensure all safety measures‚ like firestopping‚ are in place. Test electrical outlets and plumbing fixtures to confirm functionality. Document every observation‚ no matter how minor‚ to avoid overlooking potential issues. This methodical process ensures a comprehensive assessment‚ helping to identify and address problems before drywall installation begins.
Documentation and Reporting
Documenting defects and generating detailed reports are crucial steps. Photograph issues‚ note locations‚ and create a comprehensive report for stakeholders. This ensures transparency and accountability in addressing problems.
8.1 Photographing and Noting Defects
Photographing and noting defects during a pre-drywall inspection ensures a clear visual and written record of any issues. This step is essential for documenting structural‚ electrical‚ or plumbing problems before drywall installation. High-quality photos should capture defects from multiple angles‚ and notes should describe the location and severity of each issue. Organizing these findings in a structured format‚ such as a checklist or report‚ helps contractors and builders address problems efficiently. Proper documentation also serves as a reference for future repairs or legal purposes‚ ensuring accountability and transparency throughout the construction process. This systematic approach prevents oversight and ensures all defects are resolved before finalizing the project.
8.2 Generating a Detailed Report
Generating a detailed report after a pre-drywall inspection is crucial for documenting findings and ensuring accountability. The report should include a summary of all inspected areas‚ highlighting defects and areas requiring correction. Using inspection software or templates can streamline the process‚ ensuring clarity and organization. Photos and notes from the inspection should be embedded or referenced within the report for visual confirmation. A comprehensive report also outlines recommended repairs and next steps‚ providing contractors with a clear actionable plan. Ensuring the report is easily accessible to all stakeholders‚ including builders and homeowners‚ promotes transparency and efficiency. A well-structured report not only aids in addressing issues promptly but also serves as a permanent record for future reference.
Best Practices for Inspections
Hiring a professional inspector ensures a thorough evaluation. Scheduling inspections early helps address issues promptly. Using a detailed checklist guarantees no critical areas are overlooked during the process.
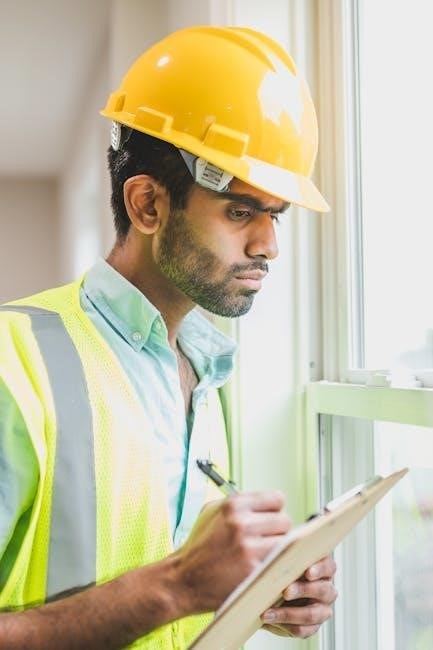
9.1 Hiring a Professional Inspector
Hiring a professional inspector is crucial for a thorough pre-drywall inspection. They bring expertise in identifying structural‚ electrical‚ and plumbing issues. A professional ensures compliance with building codes and standards‚ using a detailed checklist to cover all critical areas. Their experience helps catch potential problems early‚ avoiding costly repairs later. Many builders require inspections post-closing‚ but hiring an independent inspector beforehand provides unbiased feedback. Professionals often use specialized tools and software for accurate reporting. This step is vital for ensuring the integrity and safety of the construction. By investing in a professional inspection‚ homeowners can gain peace of mind and avoid future headaches. It’s a key investment in the quality and longevity of the property.
9.2 Scheduling and Timing
Proper scheduling and timing are essential for an effective pre-drywall inspection. It should occur after all major systems are installed but before drywall is hung. This allows inspectors to assess electrical wiring‚ plumbing‚ HVAC ducts‚ and structural components without obstruction. Scheduling early ensures issues are addressed before they become costly. Builders often set specific timelines for inspections to maintain project momentum. Homeowners should coordinate with contractors to ensure the inspection aligns with construction progress; Early identification of defects prevents delays and ensures compliance with building standards. Timing is critical to the inspection’s success‚ as it impacts both the quality and efficiency of the construction process. Proper planning ensures all aspects are reviewed thoroughly. This step is vital for a smooth project completion.